Thursday, September 30, 2010

For Mom Part 2

This runner is for the dinning table.
Este camino de mesa es para la mesa del comedor.
Featuring a detail of our Family name.
Mostrando un detalle de nuestro apellido.

Have a great Wednesday
Erika

Wednesday, September 29, 2010

For Mom Part 1

On Darlette's most recent visit to mom's home got an special assignment to furnish seven little places with table runners and mats. Mom choose the fabric and Darlette worked her magic. here is the first one made for the chimney, Darlette added the embroidery on the sides.
En la visita mas reciente a casa de Mama Darlette recibio una asignacion especial para agregar una serie de caminos de mesa y manteles para la casa. Mama escogio la tela y Darlette hizo el resto, este primer camio de mesa es para la chimenea, le agrego el bordado a maquna en las orillas.Happy quilting
Erika

Monday, September 27, 2010

Candy Corn Table Runner: Day 5

The last Day yay! How was your weekend? Mine was full, and I did not finish my runner until a couple of minutes ago. It is hard with three little girls at home. When I think I will be done in an hour it becomes 3 of 4 hours later. Well this is Motherhood And I won't change it.
El ultimo dia yea! Como les fue de fin de semana? El mio estubo muy ocupado, no termine mi camino de mesa sino hasta hace unos minutos. Es dificil con tres pequenas en casa. Cuando pienzo en que algo me tomara una hora termina siendo tres o cuatro. En fin eso es la maternidad y no la cambio por nada.At this moment we are done with our quilting.The picture above is about finishing the edge margin.
Para este momento ya terminamos de acolchar. La foto de arriba es de cuando terminaba la orilla del segundo margen.
Now is time to trim the excess batting and backing. I keep thescraps to use as fillers.
Ahora es momento de cortar el relleno y la tela trasera. Guardo los retazos para ocuparlos despues como relleno
I will just show you a trick of how to make the bias tape.
Solo les mostrare un tip para hacer el bies.
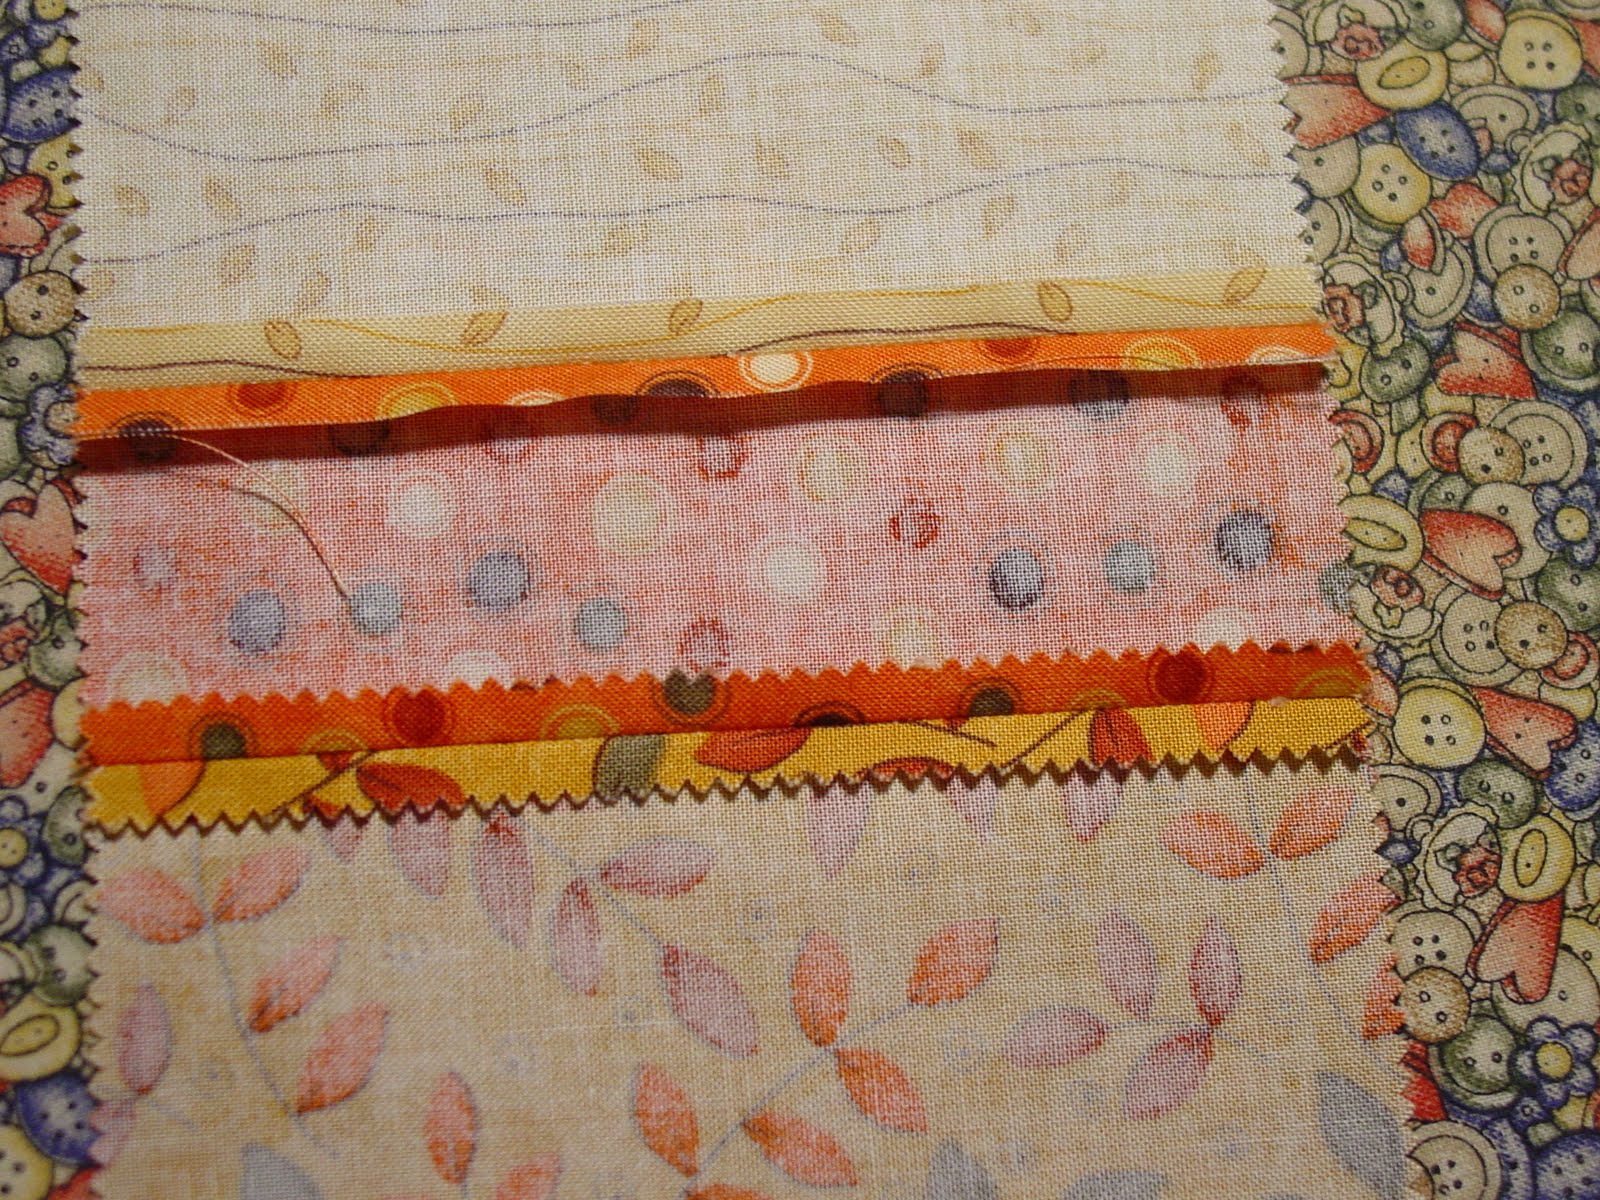
Cut your pieces 2 1/2"and sew them right sides together, press and do not forget to open press the seams. I did use 3 strips. I just realize we did not needed so much of this material but you can always use it for the backing I will change the amounts later.
Cortar las piezas a 5.4 cm de ancho coser con la parte derecha juntas, planchar y no olvidar planchar las costuras hacia afuera.. Yo use 3 tiras, y ahora me he dado cuenta de que no se necesitaba mucho de esta tela en fin tendre que cambiar las cantidades.
Fold in a half with your hand.
Doblar a la mitad con la mano.
Now put a pin on your pressing table pinned a little bit on the bottom croos to the 1 1/4" space and pin again like the picture above.
Ahora poner un alfiler largo entre el bies 3.2 cm como se muestra en la foto de arriba y asi pasara el bien doblandose facilmente.
Place the iron after the pin and leave enough material so you can pull the bias on the right side (if you are right hand sided). The bias tape will fold with no effort and you will be done in no time.
Poner la plancha despues del alfiler y dejar suficiente tela para poder empujar la tela del otro lado si son diestras. El bies se doblara automaticamente y sin ningun esfuerzo y terminaran rapidisimo.Ready to add the bias. Here is an excellent tutorial.
Listas para poner el bies. Aqui pueden encontrar un tutorial excelente. Done!
Listas hemos terminado!Do not forget to label it!
No se les olvide firmarlo!
I hope you like this tutorial, It was fun to make it together. I hope you got something useful for your crafting. The next post will be a series of seven posts showing you a project Darlette made for mom. I hope you can visit us. 'till then...
Espero que les haya gustado el tutorial, fue divertido hacerlo juntas. Espero que hayan encontrado alguna nueva forma de mejorar sus acolchados. La siguiente entrada empezaremos una serie de siete entradas mostrando un projecto que Darlette hizo para mama. Espero que nos visiten. Hasta en tonces...
Happy quilting
Erika

Friday, September 24, 2010

Candy Corn Table Runner: Day 4

Okay, I almost do not make it today, but here we are ready to go.
First of all I am going to show you how to hide the upper thread: On the picture above you can see the beginning of our machine stitch and we are going to hide it on the wrong side of the fabric.
En la foto de arriba se ve el hilo de costura que vamos a esconder en la parte de atras. Facing the wrong side of the fabric pull a little bit the bobbin thread, enough to see a little loop (which is the top thread)
Viendo la tela por la parte trasera jalar el hilo de la bobina un poquito, lo suficiente para ver un pequeno lazo (que es el hilo de arriba)
You can see the loop I hold with the pin and then pull it out.
Con un alfiler jalar el lazo y sacarlo.
You have now the two threads on the same side and you can tide a knot and cut the excess. You can do the same when you start quilting you bring the bobbin thread up, you leave it out till you are all done with your quilt and then with a hand needle you hide them in between the quilt sandwich.
Ahora tienen los dos hilos en el mismo lado de la tela, ahora pueden hacerle un nudo y cortar el resto. Este metodo tambien se puede usar para cuando uno comienza a acolchar se hace al reves, ponemos el hilo de la bobina hacia arriba y dejamos los hilos hasta que terminamos de acolchar y despues los escondemos entre el sandwich del acolchado con una aguja para coser a mano.
Now that we applique all the pieces we are ready to prepare the runner to quilt:
Ahora que nuestros appliques estan listos podemos comenzar a preparar el camino de mesa para ser acolchado.
We are going to make our quilt sandwich cutting a piece of batting of your preference (I use Warm and Natural). Cut it two inches bigger than your TR (14" by 46"). Now lay the two pieces (batting and top) on the backing and cut it again two inches bigger (16" by 48") This is with the intention of not running out of fabric when you quilt it and everything is covered. In this case it will be one and two inches from the top edge because is a small piece, if you are making bigger quilts 3"-5" are recommended.
Vamos a hacer el sandwich para acolchar cortando una pieza de relleno de su preferencia (yo use Warm and Natural) Cortarlo cinco cm mas grande ue nuestro camino de mesa osea (35.5X 115cm). Ahora poner las piezas de relleno y el top en la tela para atras que igualmente sera cinco centimetros mas grande (40.5X120 cm). Esto se hace para no nos falte tela a la hora de acolchar que muchas veces la tela se jala y podemos terminas sin suficiente tela trasera o relleno. estas medidas son para acolchados pequenos pero para acolchados grandes se recomienda incrementar el exceso de tela de 7.5 a 12.5 cm.
Next is the pining, I pin about 4 to 5 inches apart You can also spray baste. I did it all on my table because the runner is small and does not require the usual battle to keep it all straight.
Ahora es el turno de los seguros los he puesto de 10 a 12 cm de espacio, tambien se puede usar el spray para asegurar. Todo esto lo he hecho en mi meas de trabajo, pues con una pieza tan pequena no tenemos que batallar como con los acolchados grandes para mantenerlos lisos.You are now ready to have fun quilting! I try to edit my pictures to show you some ideas of how can we quilt this runner, but it did not work so I ended with my second best option the white board:
Ahora estamos listas para divertirnos acolchando! Trate de editar mis fotos para mostrarles algunas ideas de como acolchar el camino de mesa, pero no me funciona asi es que use mi segunda mejor opcion, el pizarron blanco.
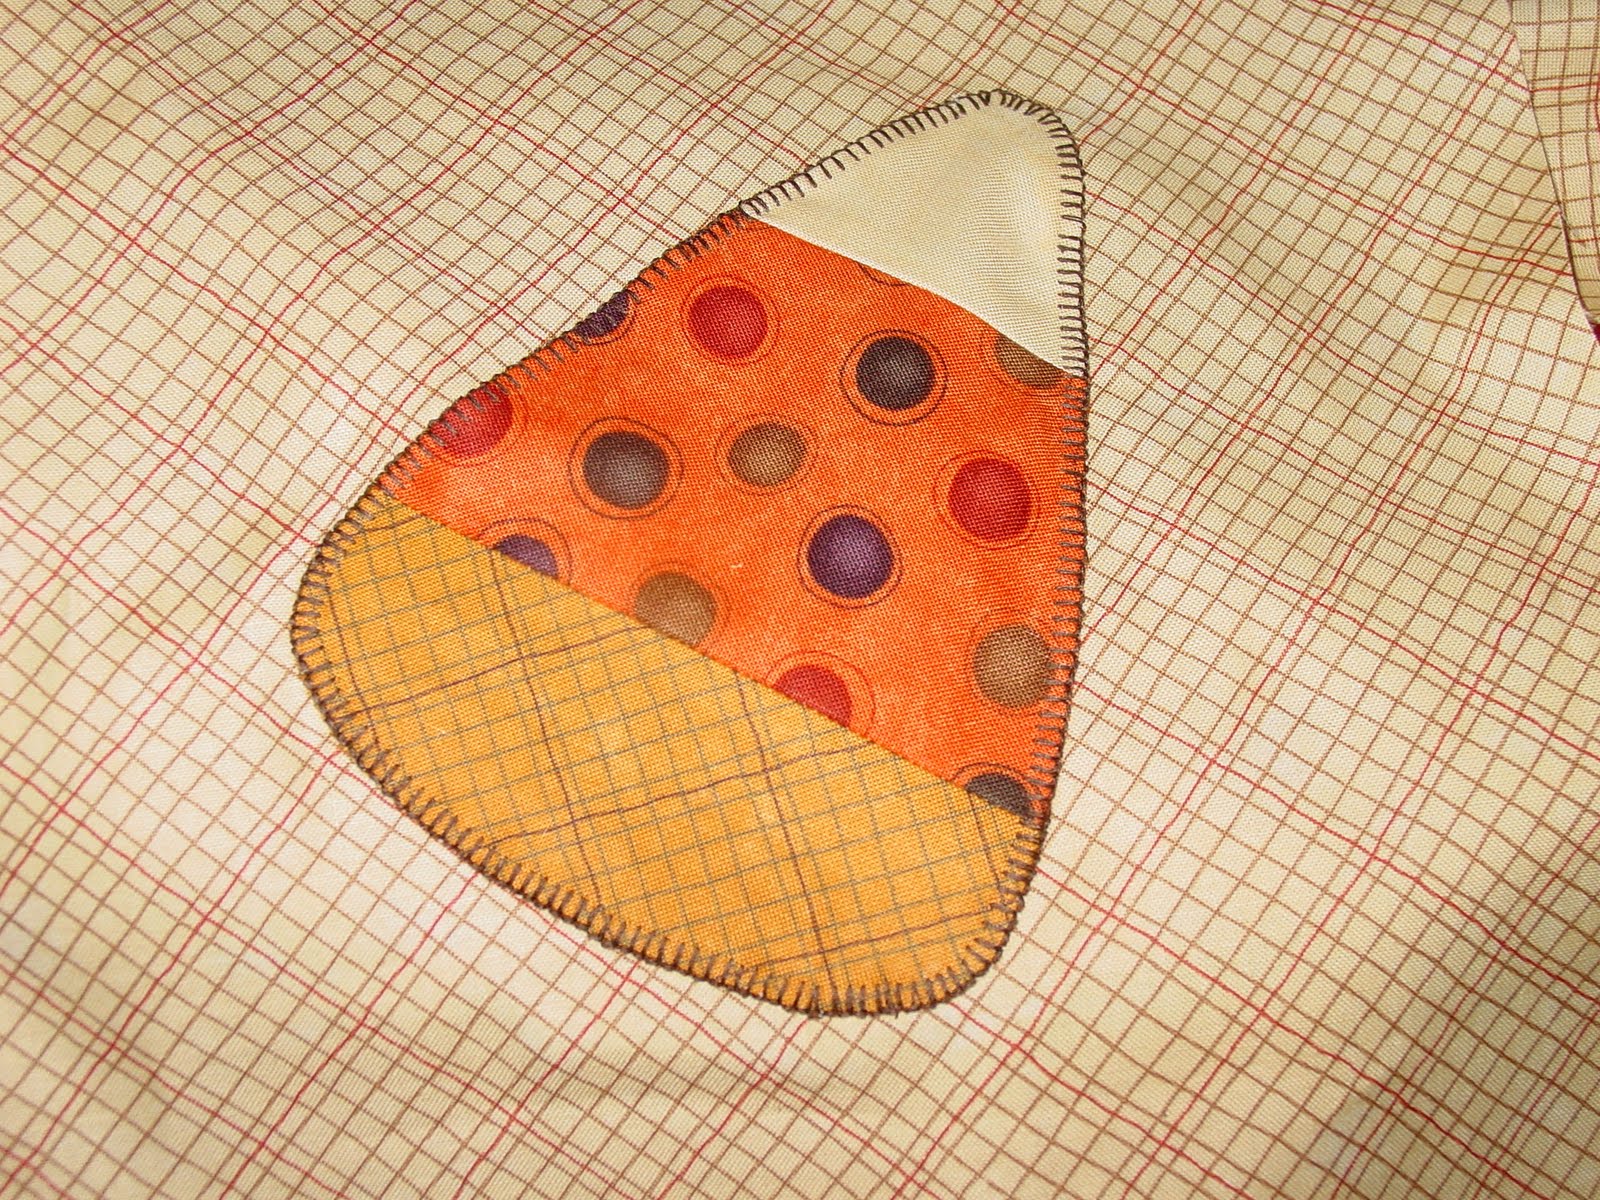
I mention I am going to make a double margin on the edge on my quilt at 1" and 1 1/2" from the edge of the runner. On the above picture I marked the double margin and then a stippling all over the piece except the applique area. I did mention yesterday that even if you do not have a quilting foot you can do the free motion quilting by removing the presser foot and lowering the feed dogs. I know Darlette has done it before and it works. just practice before you start so your tension is right.
Mencione antes que pondre un margen doble de 2.5 cm y 3.75 cm alrededor del camino de mesa. La foto de arriba muestra el margen y el diseno stippling por todo el camino de mesa con exepcion de los dulces de maiz. Ayer mencione que se puede hacer acolchado libre sin tener el pie para hacerlo, simplemente remover el pie de costura y bajar los dientes de arrastre. Se que Darlette lo ha hecho y funciona, solo deben de practicar antes para ajustar bien la tension.
This second one is just about making echoes on all over the candy corn, you can also do an echo spiral it looks beautiful and this one you can make with a normal foot using the edges of the foot as guidance for a straight distance between ecoes.
Este segundo diseno es simplemente hacer ecos alrededor de lo appliques, luce muy lindo. este tipode acolchado tambien se puede usar con pie normal y usando la orilla del pie puede uno guiarse para mantener la distancia entre los ecos.
This next one is a combination, making two or three echoes and the rest filling with stippling.
Este siguiente es una combinacion de dos o tres ecos y el resto rellenarlo con stippling.This next one is about one echo or just quilt on the edge of the applique and the rest straight lines all over also sutable for normal foot.
Este siguiente es un eco o acolchar alrededor del applique y el resto lineas rectas, este tambien es un diseno en el que se puede usar un pie normal.
This last is a last minute inspiration combining stippling with little candy corns I think I am going to use it I do not know. You will see the finished product on Monday when I sow you the finish runner. till then...
Este es mi inspiracion de ultimo momento combinando stippling con unos pequenos dulces de maiz, creo que asi lo acolchare pero todavia no me decido, ya veran como me queda el Lunes que regrese para mostrarles mi camino de mesa terminado. ahasta entonces...
Make it a great weekend!
Erika

Thursday, September 23, 2010

Candy Corn Table Runner: Day 3

Today we continue with the applique:
Hoy continuaremos con el aplique:
On the little opening that we previously cut start cutting on the edge:
En la pequena incicion que dejamos previamente empezar a cortar al rededor:

When you have about 3 inches cut try to separate the paper and the fabric so you do not cut the seams.
Cuando tengan abierto unos 7 cm ayudarse con los dedos para separar la tela del papel para evitar cortar las costuras.
Your applique piece will look like this: I always leave the paper on the border I do not mind because with the stitch you wont feel the difference. I tried to remove the paper but it took too long so I just left it like I always do.
Tu applique lucira asi: Yo siempre dejo la orilla del papel de aplique cuando lo cosemos no se nota la diferencia. Trate de quitarle el papel pero me costo mucho trabajp as es que lo deje como siempre.
Repeat for all your pieces.
Repetir con todas las piezas.

Now, with the background fabric I cut a piece 12" by the with of fabric (42"). This will be your choice of how big you want it and id you want to add an extra border of a different fabric or specific measurements. I will live it like that although the pieces look a little smaller I will make a double quilted border about 1' and 1 1/2" from the edge and that will make it look proportionate.
Ahora, con la tela para el fondo yo corte una pieza de 30.5 cm por el ancho de la tela (110cm). Este sera su propia desicion de como quieren que termine si es que quieren agregar un marco extra o el tamano que les acomode mejor. Yo lo dejare asi aunque los apliques se vean un poco mas grandes pues le acolchare dos bordes de 2.5 y 3.5 cm de ancho desde la orilla y asi lucira proporcionado.This is an idea of how to place your candy corn:
Esta es una idea de como acomodar sus dulces de maiz:

Secure your candy corn with pins.
Sujetar las piezas con alfileres.
Now we are going to sew the pieces. There are many ways to do the applique, some people use mono filament to hide the stitching, in this case I am looking for a rustic look so I use blanket stitch with a contrasting espresso color. I machine applique it. if you do not have that stitch on you sewing machine you can always use zig-zag or hand stitch here is a great tutorial; for hand stitching I will recommend to use embroidery floss. For machine applique make sure you stitch right on the edge of your candy corn.
Ahora es el momento de coser los dulces. Hay muchas formas de cocer, algunas personas y dependiendo de lo que querramos obtener usan hilo de monofilamento para esconder la costura, en este caso lo que estoy buscando es un look rustico asi es que use el blanket stitch en mi maquina, si no tienen esa funcion en la suya pueden usar el zig-zag, o si no hacerlo a mano aqui esta u tutorial muy bueno para hacerlo a mano recomiendo que uden hilo para bordar. Elo color que use fue un contrastante cafe expresso. Para el applique a maquina asegurence de coser justo a la orilla de la pieza.
Ta da!, it will look like this: you have finished one, now finish the rest of them like I am doing after I finish this post LOL. Tomorrow we will talk about preparation for the quilting and the options of how to quilt it. If you do not have a walking foot or a free motion foot and still you want to make it free motion I got a trick to do it...
Ta-da! y asi se ve terminado: ya has terminado el primer aplique ahora a seguirle con los siguientes como yo que los terminare en cuanto termine de escribir este post LOL. Manana hablaremos de la preparacion para acolchar y de las diferentes opciones que tenemos. Si no tienen pies para acolchar pero aun quieren hacer el free motion tengo un pequeno tip para lograrlo...

Til' then Happy crafting!
Erika

Wednesday, September 22, 2010

A lunch bag for Cosey

We interrupt our Tutorial week to show you this beautiful lunch bag that Darlette made and just on time because I visit the dentist yesterday and I just couldn't do anything, Timely Darlette showed me this beautiful lunch bag.
Darlette used this vinyl for the lining, Cosey choose the bottom fabric ans Darlette the other two. Enjoy.
Interrumpimos esta serie de tutoriales para mostrarles lo que Darlette le hizo a su hija Cosey, una lins lonchera. Me llegaron las fotos justo a tiempo pues ayer visite al dentista y la anestecia no me permitio hacer nada. Darlette uso este vinyl para el forro. Cosey escojio la tela de abajo y las otras dos Darlette. Disfruten.

I'll see you tomorrow back with the tutorial
Erika

Tuesday, September 21, 2010

Candy Corn Table Runner: Day 2

Hi I am so happy to know some of you are making the runner. Today we will do the aplique preparation.
Estoy feliz de saber que ahy algunas hciendo el camino de mesa Hoy vamos a hacer la preparacion para el applique.

We left yesterday our blocks with the seams press open.
Ayer dejamos nuestros pedazos de tela con las costuras abiertas comola foto de abajo (disculpen el espanol pero no estoy muy acostumbrada a la terminologia)

Now that you have your template transfer it to the freezer paper on the non-shiny side and cut it. Then with the material facing the wrong side place the frezer paper template with the shiny side touching the fabric. Place it were you better like making sure you have a space or about 1/8" around the edge you might like more cream than yellow.
Ahora que ya tienen el patron transferirlo a el papel para congelar o papel mantequilla (este papel lo que hace es que al plancharlo se adhiere a la tela pero no se pega solo para mantenerolo en posicion) del lado que no esta brilloso y cortarlo. con la tela al reves poner patron con el lado brilloso tocando el reves de la tela. Acomodarlo en donde mas prefieran pero tomando en cuenta dejar como medio centimero o menos de distancia libre para la orilla.

Next we press with medium heat. the template will adhere to the fabric.
Ahora planchamos a temperatua media y el patron se aderira a la tela.
Now we cut around the template leaving about an 1/8"around and cut around the curves every 1/4" to 1/2" so we can turn the edge of the fabric easly, but not to close to the edge of the paper.
Ahora cortar alrededor del patron dejando como medio centimetro de tela alrededor. Hacer pequenas insiciones alrededor de la orilla de latela mas o menos de medio centimetro a un centimetro en las areas curvas sin llegar a la orilla del papel.

next make a little cut about an inch to the middle of the template (do not cut the fabric) as shown on the next picture.
Ahora cortar el papel (No la tela) como unos dos centimetros hacia el centro de el patron como se muestra en la foto siguiente.
Now is time to use the Roxanne's Glue-Baste-it. It comes with an applicator which I do not have anymore but I use a qutip I glue abot 3 inches and then I turn the fabric with my fingers like in the picture. I was thinking that a fabric stick glue might work too, but I haven't try it. This glue is so good and you use almost nothing I have had mine for a few years now and I use it for all my appliques.
Ahora e el momento de usar el Roxanne's Glue-Baste-it. Viene con un aplicador que lo hace facil de poner pero yo ya no lo tengo un qutip sirve igual yo agrego el pegamento cada 5 -7 centimetros y luego doblo la tela pegandola a el patron como se muestra en la foto. Me puse a pensar que talvez pegamento para tela o de esos pegamentos en barra pueden servir. No lo e probado asi es que no se que tal quede. Este pegamento es muy bueno y no se usa mucho yo lo tengo ya desde hace algunos anos y lo he usado para todos mis appliques.
At the end you will have something like this: (Glue bottle shown)
Al final tengran algo como esto: (se muestra la botella del pegamento)
Do the same steps to all your applique pieces. Don't they look so yummy?
Repetir los mismos pasos para el resto de los patrones. Apoco no lucen lindos?
Until tomorrow...
Enjoy your day
Erika