


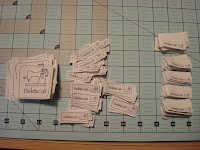


Estoy feliz de saber que ahy algunas hciendo el camino de mesa Hoy vamos a hacer la preparacion para el applique.
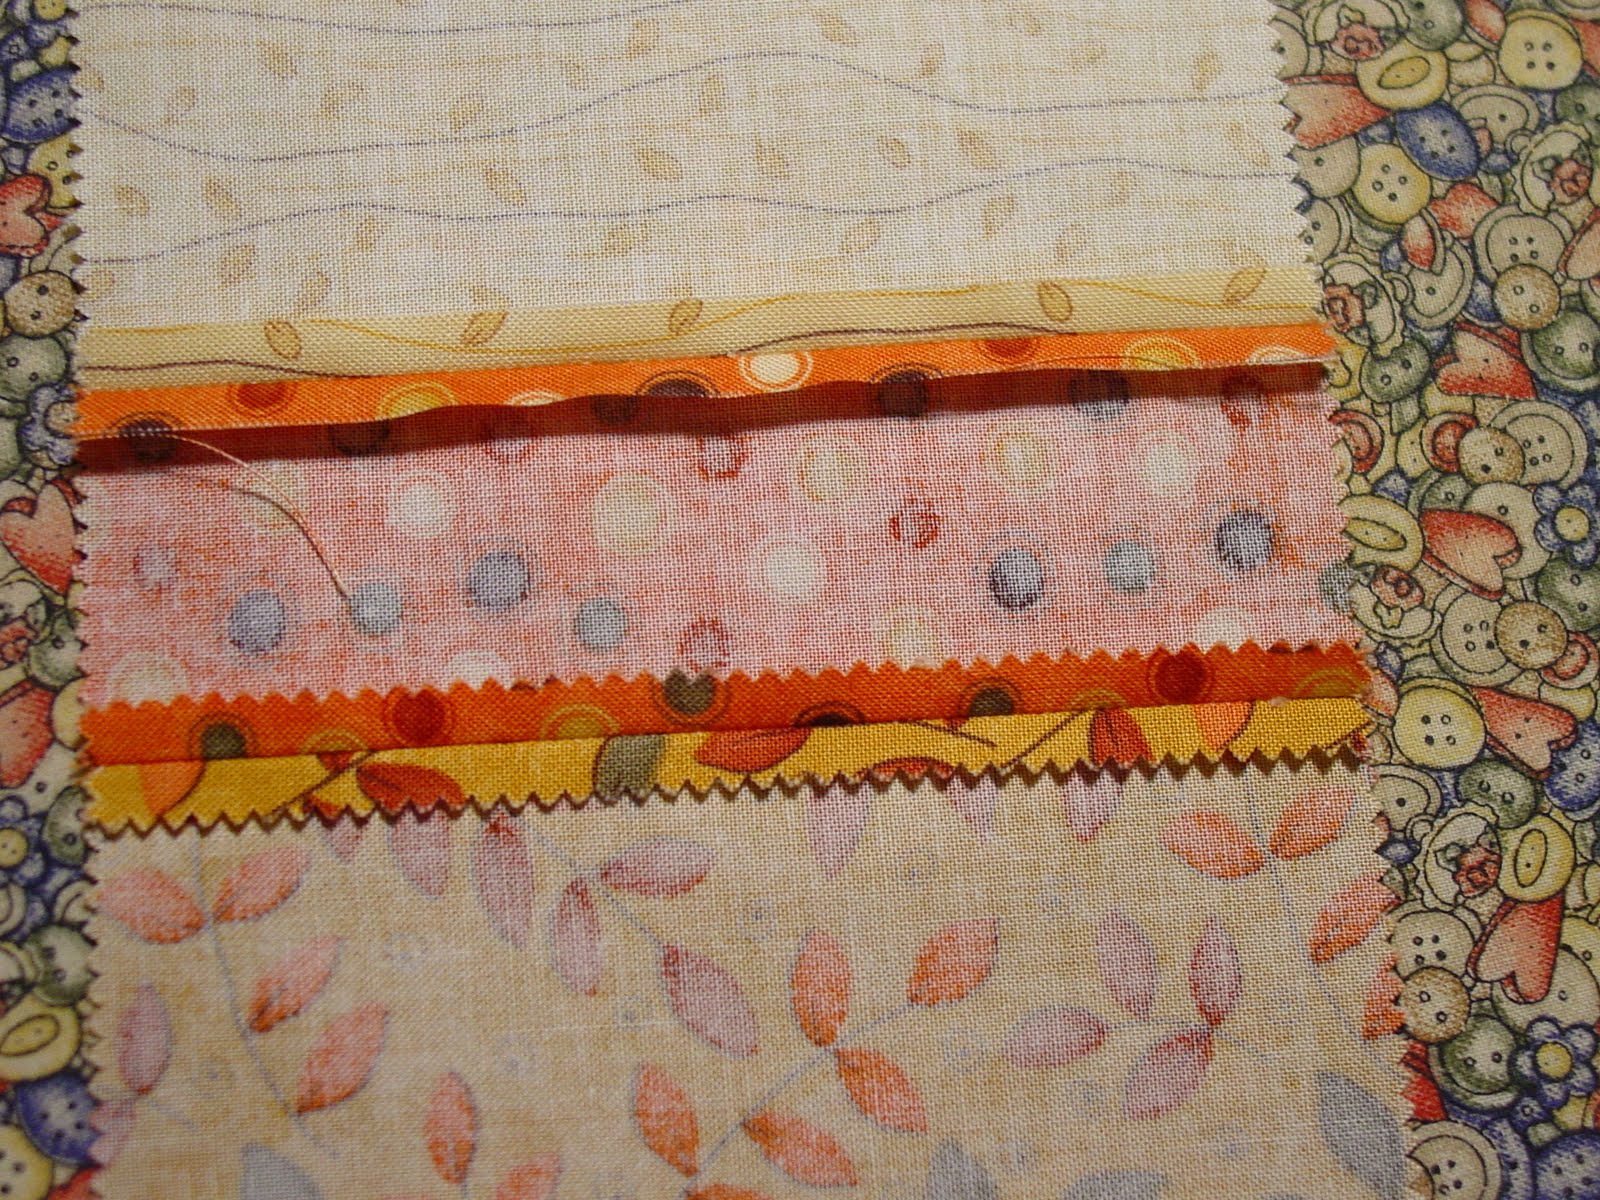
We left yesterday our blocks with the seams press open.
Ayer dejamos nuestros pedazos de tela con las costuras abiertas comola foto de abajo (disculpen el espanol pero no estoy muy acostumbrada a la terminologia)
Now that you have your template transfer it to the freezer paper on the non-shiny side and cut it. Then with the material facing the wrong side place the frezer paper template with the shiny side touching the fabric. Place it were you better like making sure you have a space or about 1/8" around the edge you might like more cream than yellow.
Ahora que ya tienen el patron transferirlo a el papel para congelar o papel mantequilla (este papel lo que hace es que al plancharlo se adhiere a la tela pero no se pega solo para mantenerolo en posicion) del lado que no esta brilloso y cortarlo. con la tela al reves poner patron con el lado brilloso tocando el reves de la tela. Acomodarlo en donde mas prefieran pero tomando en cuenta dejar como medio centimero o menos de distancia libre para la orilla.


Next we press with medium heat. the template will adhere to the fabric.
Ahora planchamos a temperatua media y el patron se aderira a la tela.

Now we cut around the template leaving about an 1/8"around and cut around the curves every 1/4" to 1/2" so we can turn the edge of the fabric easly, but not to close to the edge of the paper.
Ahora cortar alrededor del patron dejando como medio centimetro de tela alrededor. Hacer pequenas insiciones alrededor de la orilla de latela mas o menos de medio centimetro a un centimetro en las areas curvas sin llegar a la orilla del papel.

next make a little cut about an inch to the middle of the template (do not cut the fabric) as shown on the next picture.
Ahora cortar el papel (No la tela) como unos dos centimetros hacia el centro de el patron como se muestra en la foto siguiente.

Now is time to use the Roxanne's Glue-Baste-it. It comes with an applicator which I do not have anymore but I use a qutip I glue abot 3 inches and then I turn the fabric with my fingers like in the picture. I was thinking that a fabric stick glue might work too, but I haven't try it. This glue is so good and you use almost nothing I have had mine for a few years now and I use it for all my appliques.
Ahora e el momento de usar el Roxanne's Glue-Baste-it. Viene con un aplicador que lo hace facil de poner pero yo ya no lo tengo un qutip sirve igual yo agrego el pegamento cada 5 -7 centimetros y luego doblo la tela pegandola a el patron como se muestra en la foto. Me puse a pensar que talvez pegamento para tela o de esos pegamentos en barra pueden servir. No lo e probado asi es que no se que tal quede. Este pegamento es muy bueno y no se usa mucho yo lo tengo ya desde hace algunos anos y lo he usado para todos mis appliques.

At the end you will have something like this: (Glue bottle shown)
Al final tengran algo como esto: (se muestra la botella del pegamento)

Do the same steps to all your applique pieces. Don't they look so yummy?
Repetir los mismos pasos para el resto de los patrones. Apoco no lucen lindos?

Until tomorrow...
Enjoy your day
Erika


1 comment:
Thanks for the tutorial. By the way, your blog is very nice. You have such pretty things. Kisses from Spain
Post a Comment