


Hoy continuaremos con el aplique:
On the little opening that we previously cut start cutting on the edge:
En la pequena incicion que dejamos previamente empezar a cortar al rededor:

When you have about 3 inches cut try to separate the paper and the fabric so you do not cut the seams.
Cuando tengan abierto unos 7 cm ayudarse con los dedos para separar la tela del papel para evitar cortar las costuras.


Your applique piece will look like this: I always leave the paper on the border I do not mind because with the stitch you wont feel the difference. I tried to remove the paper but it took too long so I just left it like I always do.
Tu applique lucira asi: Yo siempre dejo la orilla del papel de aplique cuando lo cosemos no se nota la diferencia. Trate de quitarle el papel pero me costo mucho trabajp as es que lo deje como siempre.


Repeat for all your pieces.
Repetir con todas las piezas.

Now, with the background fabric I cut a piece 12" by the with of fabric (42"). This will be your choice of how big you want it and id you want to add an extra border of a different fabric or specific measurements. I will live it like that although the pieces look a little smaller I will make a double quilted border about 1' and 1 1/2" from the edge and that will make it look proportionate.
Ahora, con la tela para el fondo yo corte una pieza de 30.5 cm por el ancho de la tela (110cm). Este sera su propia desicion de como quieren que termine si es que quieren agregar un marco extra o el tamano que les acomode mejor. Yo lo dejare asi aunque los apliques se vean un poco mas grandes pues le acolchare dos bordes de 2.5 y 3.5 cm de ancho desde la orilla y asi lucira proporcionado.
 This is an idea of how to place your candy corn:
Esta es una idea de como acomodar sus dulces de maiz:

Secure your candy corn with pins.
Sujetar las piezas con alfileres.

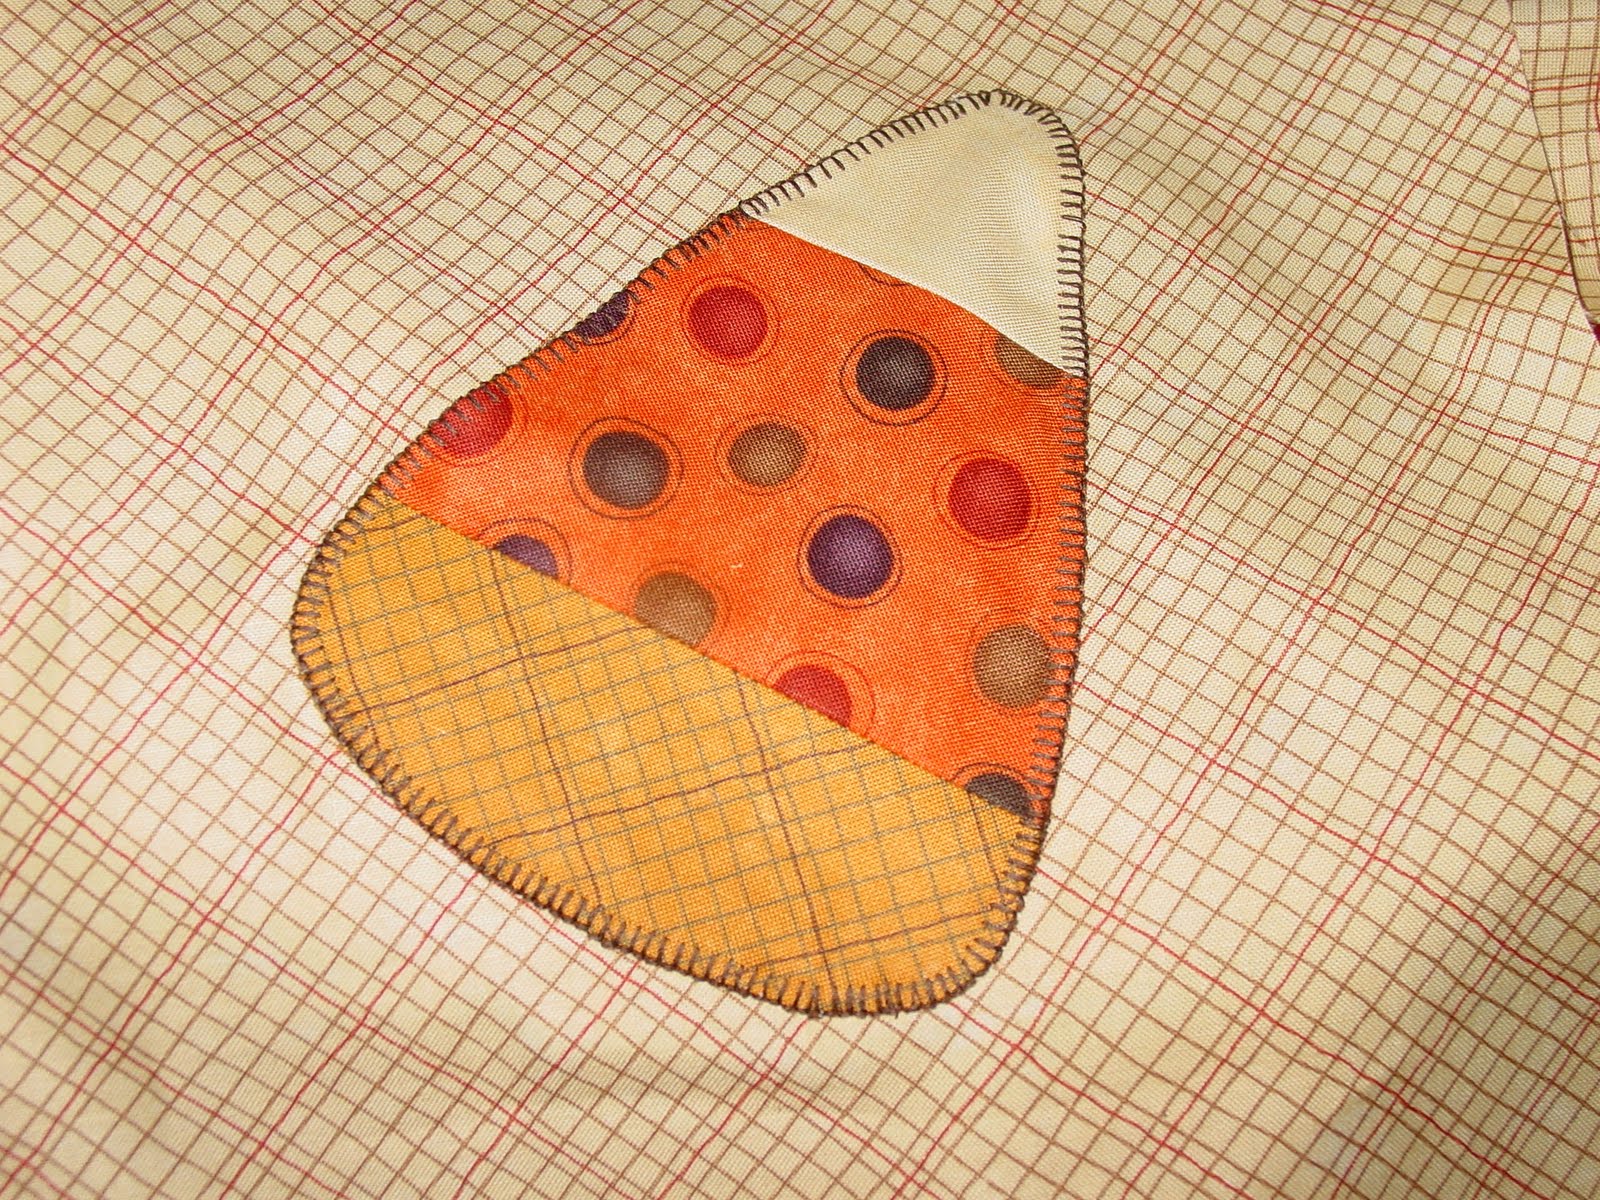
Now we are going to sew the pieces. There are many ways to do the applique, some people use mono filament to hide the stitching, in this case I am looking for a rustic look so I use blanket stitch with a contrasting espresso color. I machine applique it. if you do not have that stitch on you sewing machine you can always use zig-zag or hand stitch here is a great tutorial; for hand stitching I will recommend to use embroidery floss. For machine applique make sure you stitch right on the edge of your candy corn.
Ahora es el momento de coser los dulces. Hay muchas formas de cocer, algunas personas y dependiendo de lo que querramos obtener usan hilo de monofilamento para esconder la costura, en este caso lo que estoy buscando es un look rustico asi es que use el blanket stitch en mi maquina, si no tienen esa funcion en la suya pueden usar el zig-zag, o si no hacerlo a mano aqui esta u tutorial muy bueno para hacerlo a mano recomiendo que uden hilo para bordar. Elo color que use fue un contrastante cafe expresso. Para el applique a maquina asegurence de coser justo a la orilla de la pieza.

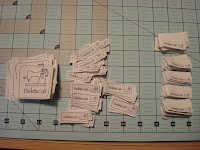
Ta da!, it will look like this: you have finished one, now finish the rest of them like I am doing after I finish this post LOL. Tomorrow we will talk about preparation for the quilting and the options of how to quilt it. If you do not have a walking foot or a free motion foot and still you want to make it free motion I got a trick to do it...
Ta-da! y asi se ve terminado: ya has terminado el primer aplique ahora a seguirle con los siguientes como yo que los terminare en cuanto termine de escribir este post LOL. Manana hablaremos de la preparacion para acolchar y de las diferentes opciones que tenemos. Si no tienen pies para acolchar pero aun quieren hacer el free motion tengo un pequeno tip para lograrlo...
Til' then Happy crafting!
Erika


No comments:
Post a Comment