Showing posts with label table runner. Show all posts

Wednesday, October 12, 2011

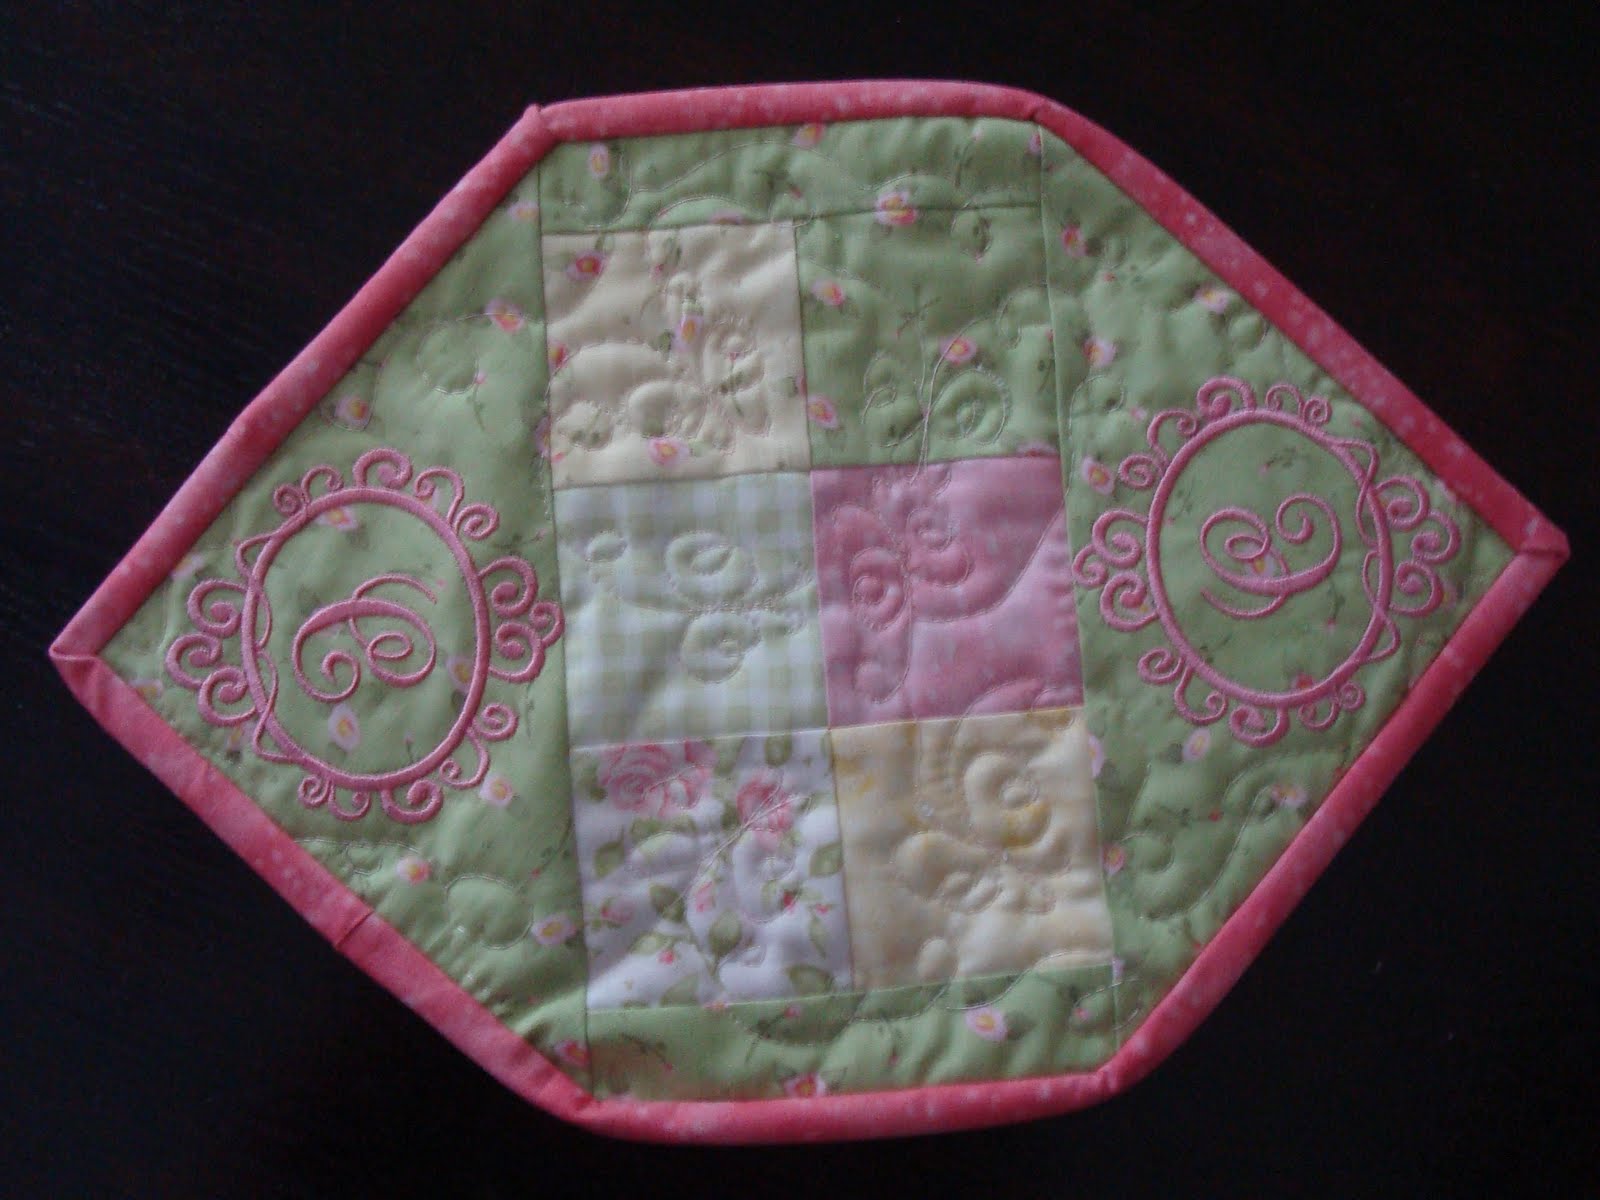
New Table runner from Darlette


Darlette made this table runner as part of a competition on a website (that i have no clue what is) but I love it and it was fun to make.
Erika

Saturday, October 8, 2011

Candy Corn Table runner

After a year Darlette finally finished her Candy Corn runner and here is how she did:Have a nice weekend!
Erika

Friday, April 8, 2011

Ripping

I have been working on this table runner since January you can see I blog about it here I started quilting one of them, but I stopped because of the move. So a few days ago I finally found it in one of my many boxes and the first thing I see is that the center of my circular feathers are totally horrible and I hate them! then the question came what to do? and I remember Leah's post about "don't fear the ripper"
He estado trabajando en este camino de mesa desde Enero, pueden ver que hable de el aqui. Empeze a acolchar uno, pero tuve que parar por lo de la mudanza. Asi es que hace algunos dias finalmente lo encontre entre las tantas cajas y lo primero que vi fueron los centros de las plumas circulares que hice y que me quedaron horribles! y la pregunta era que hacer? Recorde que Leah puso un articulo acerca de esto aqui.
So the big decision came and I ripped all the circular feathers. It took me two nights but I did it. I thing I will do this design instead.

Asi es que tome la desicion de despntar todo el acolchdo de las plumas circulares. Me tomo dos noches pero al fin lo logre, creo que hare este diseno en su lugar.

Have a great weekend
Erika

Tuesday, January 25, 2011

little bit of progress

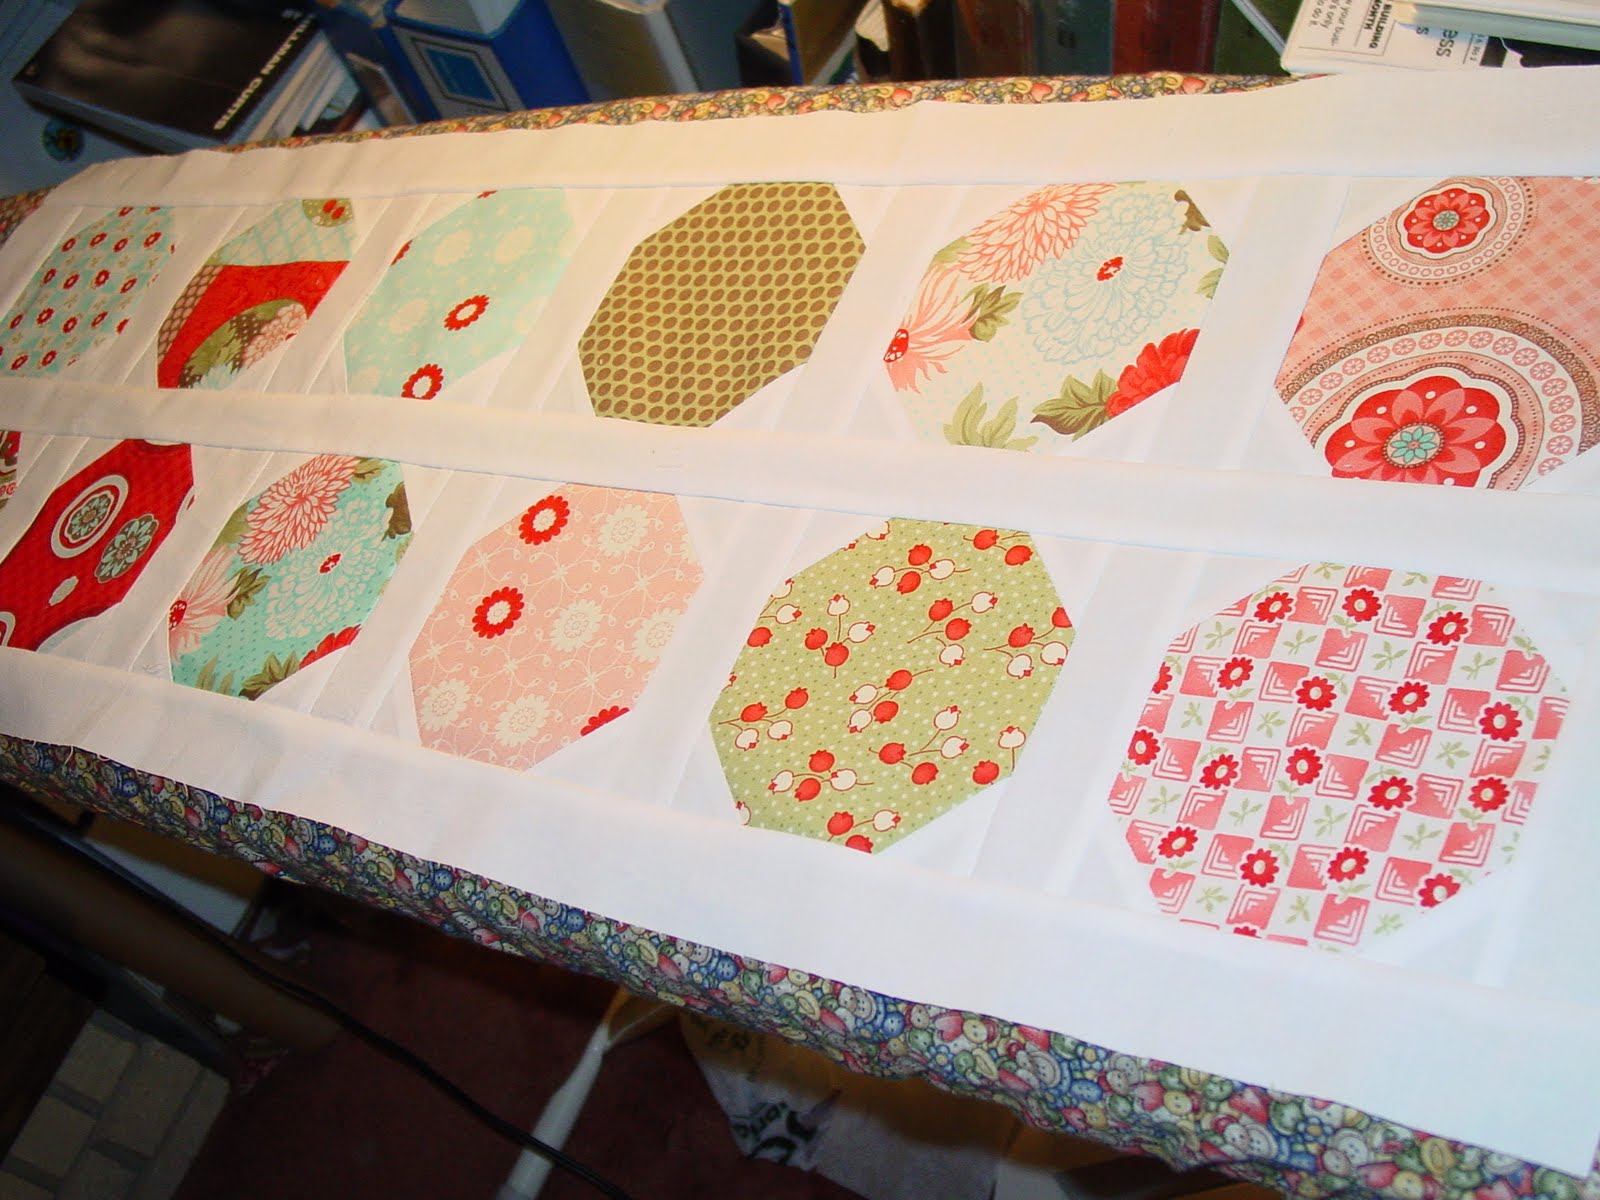
I decided I am making table runners with the bliss charm pack I am kind of following Natalia's tutorial for Verna's quilt I am still working with the applique flowers. Decidi hacer unos caminos de mesa con la tela bliss, estoy siguiendo en tutorial de Natalia llamado Verna's quilt. Sigo trabajando en el aplique de flores.
Cheers,
Erika

Friday, January 21, 2011

Planning


I've been planning how to best use the bliss charm pack Darlette gave me for Christmas. This is one part of the process I really love.
Have a great Weekend
Erika

Thursday, October 14, 2010

Featherly Runner

Yes, me again with yet another table runner. I cannot help it I love table runners! This runner is like this one I made for my friend Alyson back in August. I love it so much that I decided to make one for me. I actually made it in August, but between the candy corn runner and many other things I quilted it last weekend and finished a couple of days ago.
Si, soy yo otra vez con un camino de masa mas. Lo siento no lo uedo evitar me encantan los camios de mesa! Este camino de mesa es como
este que le hice a mi amiga Alyson en Agosto, pero entre el tutorial del dulce de maiz y otras cosas no pude acolcharlo sino hasta el pasado fin de semana y lo termine apenas hace unos dias.
On this runner I did the feathers but in stead of making the border straight I decided to curve them to give them some interesting movement. I also decided to do feathers on the pinwheels. En este camino de mesa en lugar de hacer las plumas del borde rectas las hice curvas para darles mas dimension y movimiento. Tambien hice plumas en los rehiletes.
Today I change my runners and the ones I had on I laundry them looking very fresh and ready to store. Hoy cambie mis caminos de mesa y los que tenia puestos los lave, ya estan listos para ser guardados.

Happy quilting!
Erika

Monday, October 4, 2010

For Mom Part 6

Dralette use every bit of fabric and created this cute coasters with he salvages, they are a bit small but I think they are very cute.
Darlette utilizo cada pieza de tela que pudo y creo estas porta vasos con las orillas, son un poco pequenos pero a mi me gustan.
In total Darlette made 8 runners and a set of 9 coasters.
En total Darlette hizo 8 caminos de mesa y 9 porta vasos.
Mom should be happy to have such a good daughther... (did I tell you mom does not sew at all, She says that she does not need, she has daughters to make it for herLOL)
Mama debe de estar feliz de tener un hija tan buena... (les he platicado que mama no cose? Ella dice que para eso nos tiene Ja ja ja)

Happy October
Erika

Sunday, October 3, 2010

For Mom Part 5

Nesting table runners.
Caminos de mesa para un juego de mesitas.Happy Sunday
Erika

Saturday, October 2, 2010

For Mom Part 4

From yesterday ( the center runner) to today's side tables...
Ayer fue el centro de mesa de la sala y hoy las mesitas de los lados...
The set of 3 finished.
El set de 3 completo.
Have a nice Saturday
Erika

Friday, October 1, 2010

For Mom Part 3

Today, the living room center table, table runner.
Hoy el camino de mesa para el centro de la mesa de la sala

Have a great weekend!

Erika

Thursday, September 30, 2010

For Mom Part 2

This runner is for the dinning table.
Este camino de mesa es para la mesa del comedor.
Featuring a detail of our Family name.
Mostrando un detalle de nuestro apellido.

Have a great Wednesday
Erika

Wednesday, September 29, 2010

For Mom Part 1

On Darlette's most recent visit to mom's home got an special assignment to furnish seven little places with table runners and mats. Mom choose the fabric and Darlette worked her magic. here is the first one made for the chimney, Darlette added the embroidery on the sides.
En la visita mas reciente a casa de Mama Darlette recibio una asignacion especial para agregar una serie de caminos de mesa y manteles para la casa. Mama escogio la tela y Darlette hizo el resto, este primer camio de mesa es para la chimenea, le agrego el bordado a maquna en las orillas.Happy quilting
Erika

Monday, September 27, 2010

Candy Corn Table Runner: Day 5

The last Day yay! How was your weekend? Mine was full, and I did not finish my runner until a couple of minutes ago. It is hard with three little girls at home. When I think I will be done in an hour it becomes 3 of 4 hours later. Well this is Motherhood And I won't change it.
El ultimo dia yea! Como les fue de fin de semana? El mio estubo muy ocupado, no termine mi camino de mesa sino hasta hace unos minutos. Es dificil con tres pequenas en casa. Cuando pienzo en que algo me tomara una hora termina siendo tres o cuatro. En fin eso es la maternidad y no la cambio por nada.At this moment we are done with our quilting.The picture above is about finishing the edge margin.
Para este momento ya terminamos de acolchar. La foto de arriba es de cuando terminaba la orilla del segundo margen.
Now is time to trim the excess batting and backing. I keep thescraps to use as fillers.
Ahora es momento de cortar el relleno y la tela trasera. Guardo los retazos para ocuparlos despues como relleno
I will just show you a trick of how to make the bias tape.
Solo les mostrare un tip para hacer el bies.
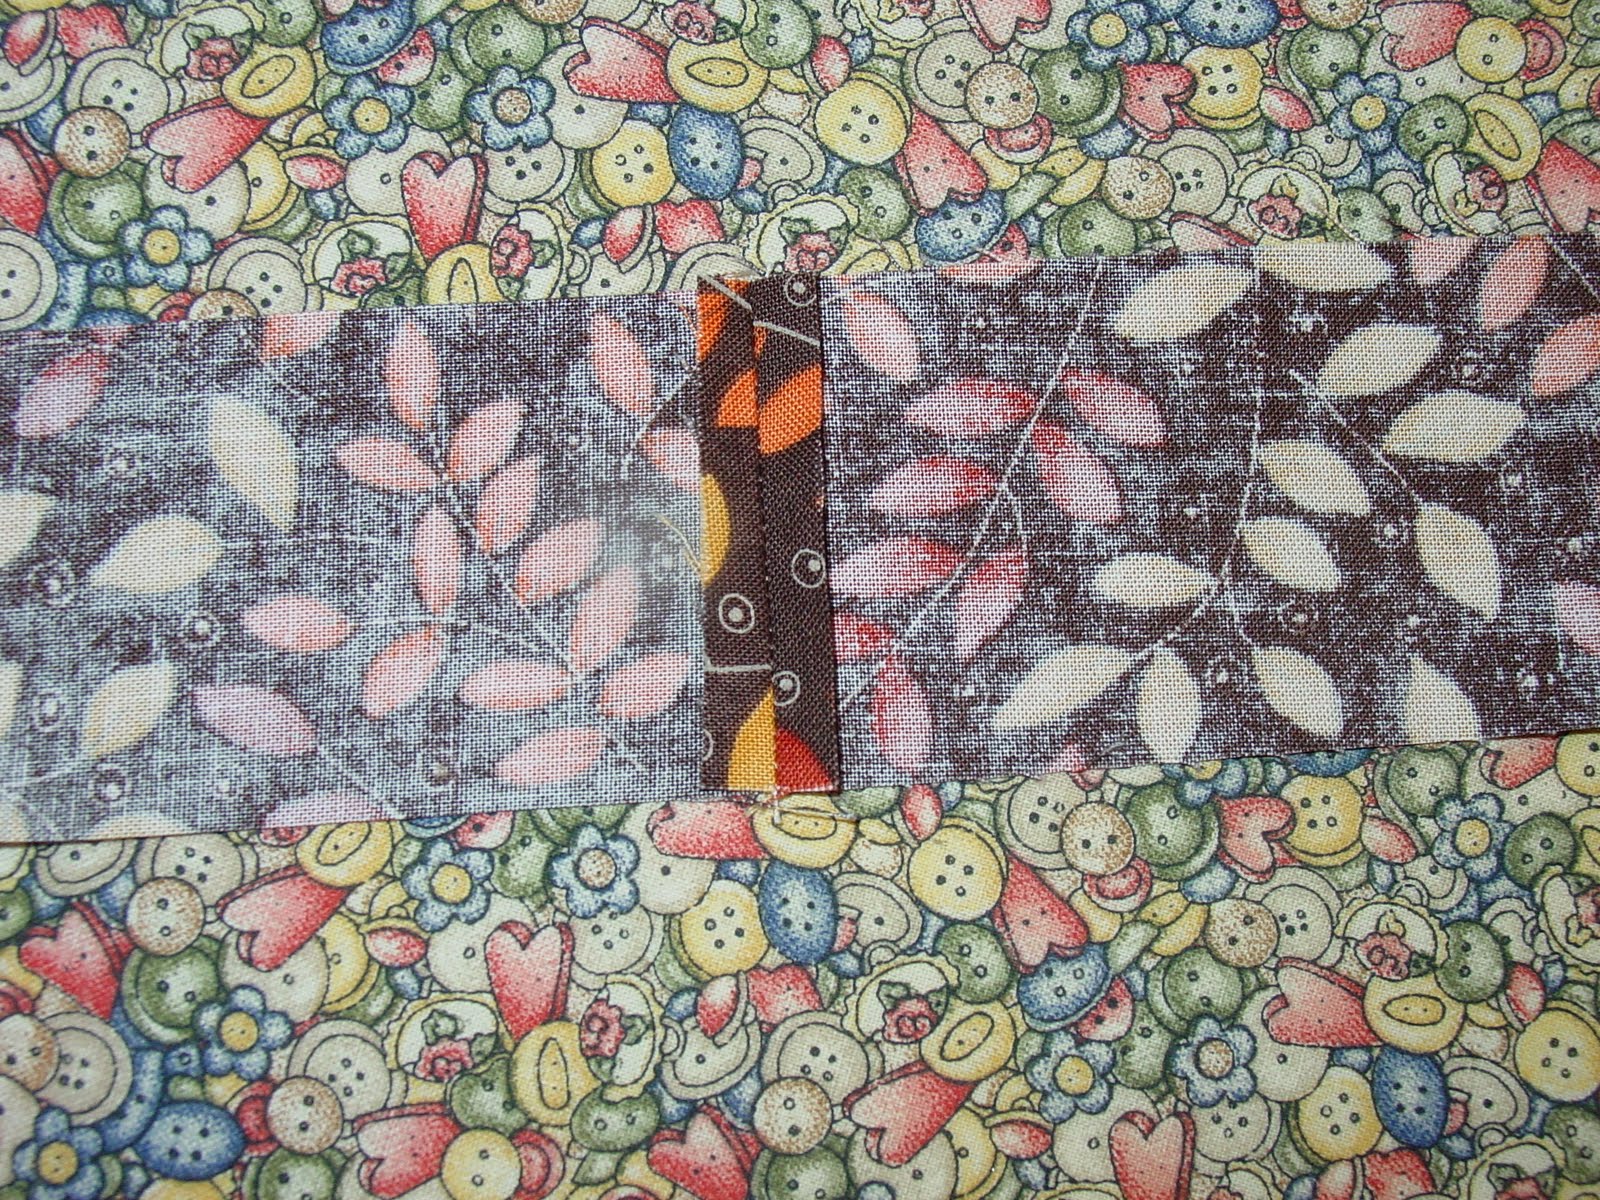
Cut your pieces 2 1/2"and sew them right sides together, press and do not forget to open press the seams. I did use 3 strips. I just realize we did not needed so much of this material but you can always use it for the backing I will change the amounts later.
Cortar las piezas a 5.4 cm de ancho coser con la parte derecha juntas, planchar y no olvidar planchar las costuras hacia afuera.. Yo use 3 tiras, y ahora me he dado cuenta de que no se necesitaba mucho de esta tela en fin tendre que cambiar las cantidades.
Fold in a half with your hand.
Doblar a la mitad con la mano.
Now put a pin on your pressing table pinned a little bit on the bottom croos to the 1 1/4" space and pin again like the picture above.
Ahora poner un alfiler largo entre el bies 3.2 cm como se muestra en la foto de arriba y asi pasara el bien doblandose facilmente.
Place the iron after the pin and leave enough material so you can pull the bias on the right side (if you are right hand sided). The bias tape will fold with no effort and you will be done in no time.
Poner la plancha despues del alfiler y dejar suficiente tela para poder empujar la tela del otro lado si son diestras. El bies se doblara automaticamente y sin ningun esfuerzo y terminaran rapidisimo.Ready to add the bias. Here is an excellent tutorial.
Listas para poner el bies. Aqui pueden encontrar un tutorial excelente. Done!
Listas hemos terminado!Do not forget to label it!
No se les olvide firmarlo!
I hope you like this tutorial, It was fun to make it together. I hope you got something useful for your crafting. The next post will be a series of seven posts showing you a project Darlette made for mom. I hope you can visit us. 'till then...
Espero que les haya gustado el tutorial, fue divertido hacerlo juntas. Espero que hayan encontrado alguna nueva forma de mejorar sus acolchados. La siguiente entrada empezaremos una serie de siete entradas mostrando un projecto que Darlette hizo para mama. Espero que nos visiten. Hasta en tonces...
Happy quilting
Erika

Friday, September 24, 2010

Candy Corn Table Runner: Day 4

Okay, I almost do not make it today, but here we are ready to go.
First of all I am going to show you how to hide the upper thread: On the picture above you can see the beginning of our machine stitch and we are going to hide it on the wrong side of the fabric.
En la foto de arriba se ve el hilo de costura que vamos a esconder en la parte de atras. Facing the wrong side of the fabric pull a little bit the bobbin thread, enough to see a little loop (which is the top thread)
Viendo la tela por la parte trasera jalar el hilo de la bobina un poquito, lo suficiente para ver un pequeno lazo (que es el hilo de arriba)
You can see the loop I hold with the pin and then pull it out.
Con un alfiler jalar el lazo y sacarlo.
You have now the two threads on the same side and you can tide a knot and cut the excess. You can do the same when you start quilting you bring the bobbin thread up, you leave it out till you are all done with your quilt and then with a hand needle you hide them in between the quilt sandwich.
Ahora tienen los dos hilos en el mismo lado de la tela, ahora pueden hacerle un nudo y cortar el resto. Este metodo tambien se puede usar para cuando uno comienza a acolchar se hace al reves, ponemos el hilo de la bobina hacia arriba y dejamos los hilos hasta que terminamos de acolchar y despues los escondemos entre el sandwich del acolchado con una aguja para coser a mano.
Now that we applique all the pieces we are ready to prepare the runner to quilt:
Ahora que nuestros appliques estan listos podemos comenzar a preparar el camino de mesa para ser acolchado.
We are going to make our quilt sandwich cutting a piece of batting of your preference (I use Warm and Natural). Cut it two inches bigger than your TR (14" by 46"). Now lay the two pieces (batting and top) on the backing and cut it again two inches bigger (16" by 48") This is with the intention of not running out of fabric when you quilt it and everything is covered. In this case it will be one and two inches from the top edge because is a small piece, if you are making bigger quilts 3"-5" are recommended.
Vamos a hacer el sandwich para acolchar cortando una pieza de relleno de su preferencia (yo use Warm and Natural) Cortarlo cinco cm mas grande ue nuestro camino de mesa osea (35.5X 115cm). Ahora poner las piezas de relleno y el top en la tela para atras que igualmente sera cinco centimetros mas grande (40.5X120 cm). Esto se hace para no nos falte tela a la hora de acolchar que muchas veces la tela se jala y podemos terminas sin suficiente tela trasera o relleno. estas medidas son para acolchados pequenos pero para acolchados grandes se recomienda incrementar el exceso de tela de 7.5 a 12.5 cm.
Next is the pining, I pin about 4 to 5 inches apart You can also spray baste. I did it all on my table because the runner is small and does not require the usual battle to keep it all straight.
Ahora es el turno de los seguros los he puesto de 10 a 12 cm de espacio, tambien se puede usar el spray para asegurar. Todo esto lo he hecho en mi meas de trabajo, pues con una pieza tan pequena no tenemos que batallar como con los acolchados grandes para mantenerlos lisos.You are now ready to have fun quilting! I try to edit my pictures to show you some ideas of how can we quilt this runner, but it did not work so I ended with my second best option the white board:
Ahora estamos listas para divertirnos acolchando! Trate de editar mis fotos para mostrarles algunas ideas de como acolchar el camino de mesa, pero no me funciona asi es que use mi segunda mejor opcion, el pizarron blanco.I mention I am going to make a double margin on the edge on my quilt at 1" and 1 1/2" from the edge of the runner. On the above picture I marked the double margin and then a stippling all over the piece except the applique area. I did mention yesterday that even if you do not have a quilting foot you can do the free motion quilting by removing the presser foot and lowering the feed dogs. I know Darlette has done it before and it works. just practice before you start so your tension is right.
Mencione antes que pondre un margen doble de 2.5 cm y 3.75 cm alrededor del camino de mesa. La foto de arriba muestra el margen y el diseno stippling por todo el camino de mesa con exepcion de los dulces de maiz. Ayer mencione que se puede hacer acolchado libre sin tener el pie para hacerlo, simplemente remover el pie de costura y bajar los dientes de arrastre. Se que Darlette lo ha hecho y funciona, solo deben de practicar antes para ajustar bien la tension.
This second one is just about making echoes on all over the candy corn, you can also do an echo spiral it looks beautiful and this one you can make with a normal foot using the edges of the foot as guidance for a straight distance between ecoes.
Este segundo diseno es simplemente hacer ecos alrededor de lo appliques, luce muy lindo. este tipode acolchado tambien se puede usar con pie normal y usando la orilla del pie puede uno guiarse para mantener la distancia entre los ecos.
This next one is a combination, making two or three echoes and the rest filling with stippling.
Este siguiente es una combinacion de dos o tres ecos y el resto rellenarlo con stippling.This next one is about one echo or just quilt on the edge of the applique and the rest straight lines all over also sutable for normal foot.
Este siguiente es un eco o acolchar alrededor del applique y el resto lineas rectas, este tambien es un diseno en el que se puede usar un pie normal.
This last is a last minute inspiration combining stippling with little candy corns I think I am going to use it I do not know. You will see the finished product on Monday when I sow you the finish runner. till then...
Este es mi inspiracion de ultimo momento combinando stippling con unos pequenos dulces de maiz, creo que asi lo acolchare pero todavia no me decido, ya veran como me queda el Lunes que regrese para mostrarles mi camino de mesa terminado. ahasta entonces...
Make it a great weekend!
Erika